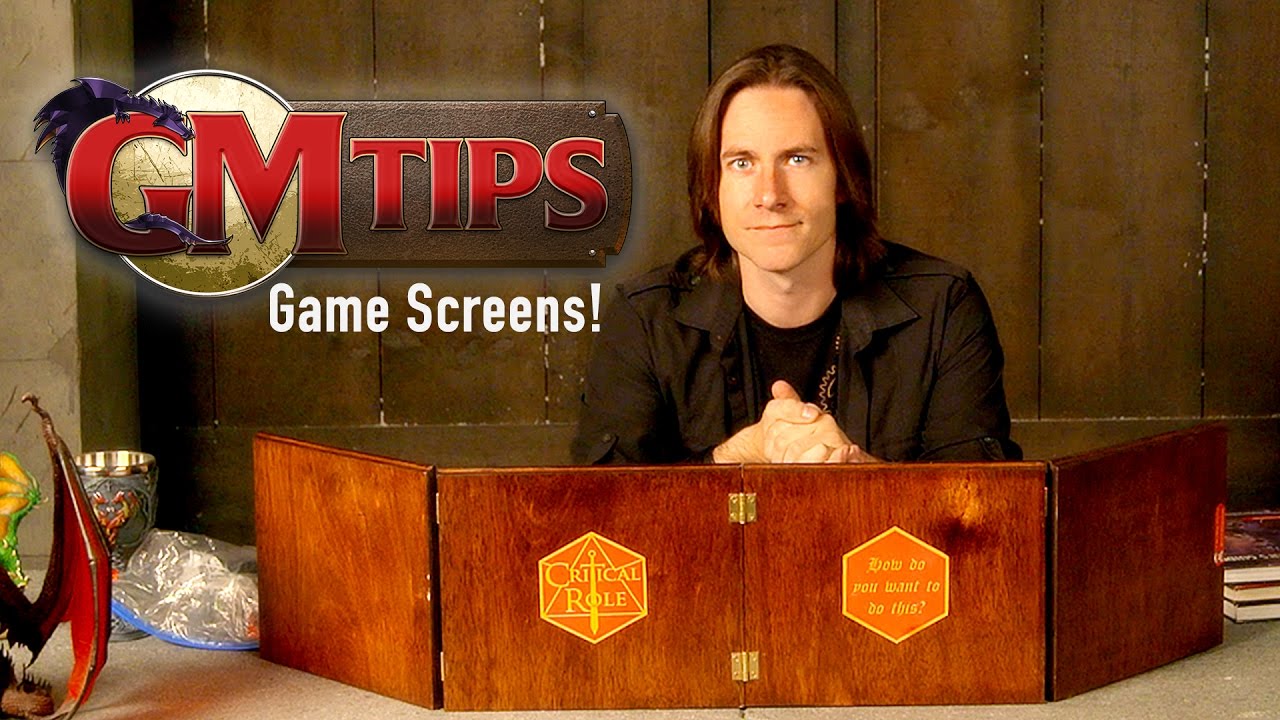
 Hands down, my favorite accoutrement for any game is the Game Master’s screen. The evocative art on the players’ side, the tables and reminders on my side to minimize flipping through books as much as possible, and last but not least, the prestige, the unmistakable badge of honor that marks one as the Game Master, the universal sign that conveys to one and all “Yea, I am the creator of worlds! Join me that we may weave our story together!” Unfortunately, it’s exceedingly rare that I find one I would honestly say is perfect. Some of them are mired in superfluous information (looking at you, Original 5e Screen), some of them don’t have all the information you want, (I still have to dig out the book every time I need to see the Renown charts for Werewolf the Apocalypse 20th Anniversary) and some of them just aren’t right. The Paizo Pathfinder GM Screen would be damned near perfect if it wasn’t only available in Portrait orientation. Personally, I vastly prefer Landscape, it makes it far easier to see the map and reach for minis if I’m using them, and affords me much more real estate at the table. Trying to keep my notebook, GM books, and laptop organized behind a Portrait screen can sometimes be an exercise in frustration at our table. As a result, I’ve recently segued into what might be a strange sub-hobby within RPGs, creating my own custom screens for my personal use. It isn’t terribly difficult either. For the most part, all that’s required is a pdf of the rules, image editing software like Photoshop, (or the free alternative Gimp) and access to a printer, which are usually available at the local library if you don’t have one at home. 1) Figure Out What Will Actually Comprised Your Screen The first step is to figure out what the “screen” part is. The Cadillac option is to spring for a The World’s Greatest Screen from Hammerdog Games (not sponsored, I’m just a big fan). I bought the landscape one years ago, and since I use it in just about every game I run I can easily say it’s the best $30 I’ve ever invested in the hobby. TWGS is a durable, high-quality vinyl screen with four clear pockets on each side to hold any inserts the GM wishes, swappable at any time. It’s even compatible with wet erase markers, so you can stick a sheet of graph paper in it and it doubles as a battle mat. Plus, when properly adorned with player side art, it just looks slick as hell at the table. Of course, for those looking for a cheaper alternative, it’s a simple matter to simply construct a screen. Speaking from experience, I don’t recommend using cardstock for the body. It’s far too flimsy and has a hard time standing up even without having a fan or AC going. Conversely, cardboard that’s too thick will make it difficult for your screen to close properly. For me, the gold standard is the type of thin cardboard used for 24 packs of soda cans. After you’ve constructed your screen panels, cut the cardboard with about an extra ½ of an inch on all sides. Affix the front and back panels to the cardboard around the edges with 1” Masking Tape (Painter’s Tape, it’s far more durable and flexible than scotch tape and won’t lose adhesion as easily) Tape the panels together, and then add one more layer of tape around the edge of the entire screen to seal it together. Fold it carefully, (you might have to place it under a stack of books for a while to get it to behave) and you’ll have a lightweight, flexible, durable screen that will last a very long time. Back before the release of 5e, Fourth Edition DM screens were difficult to find (at least in my area) and commanding ludicrous prices on Ebay and Amazon. I used this method to make myself a DM screen in 2011 and it’s still in excellent condition today. If you use this method, however, I highly recommend building a Landscape screen. The lower center of gravity and having longer panels to support itself will make it far more stable and nowhere near as easy to blow over if you happen to be playing in a room with a strong fan. 2) Screen Grab The Necessary Information Once you’ve figured out what information you want to feature on your screen, the next step is to turn the information you want into a jpeg or other image file usable by your image manipulation software of choice. Open your pdf in your pdf reader of choice and take a screenshot (the Print Screen key by default on a Windows PC), then paste the image into Microsoft Paint or similar program. Your screen grab will appear and you can save it as a jpeg. At this juncture, saving your jpegs into a dedicated folder will help make the process go far more smoothly as you’ll probably end up with quite a few. The most important part of this step is trying to screenshot the pdf at an appropriate size. While you’ll have full autonomy to resize everything later, you won’t be able to do too much before the text starts looking distorted and blurry. Personally, my GM screen is equivalent to my notes for me, so I’m not terribly picky about what it looks like so long as I can read it. Of course, different folks will have different sensibilities on the matter. 3) Create An 8.5” x 11” Project Open a new 8.5 x 11 inch project (The size of an average sheet of paper) in your image manipulation software. Which measurement corresponds to height and width obviously depends on which style of screen you intend to create. As you begin to arrange your screen panel, consider the fact that the final product will actually print out slightly smaller than what you see here, as even printing with the “Fit to Page” option enabled will leave you with a small margin around the edges of the page. 4) Place Linked Your Images Import/Place your collection if jpegs into the project, trimming them as needed with Selections, Cropping, etc. The actual procedure for this will vary based on what program you’re using, so if you’re unfamiliar with the practice, searching Google for a tutorial is unfortunately the best advice I can give. Arrange your images as you see fit, but keep in mind what I said about text becoming distorted if you attempt to transform it too much. When you’re finished, save your screen panel as a jpeg itself, and start constructing the next panel. 5) Print And Assemble Print out the finished panels for your screen and either insert them into your screen of choice or assemble them as directed previously. 6) Player Facing Art This is the most fun part, decorating your screen so the entire room knows what kind of pro GM they’re dealing with! When it comes to finding art for your screen, bigger is better. I’m sure most people know by now what happens when you resize a small image to be much bigger than intended. Simplify your life by searching for Wallpapers, they’re large enough and can be proportioned to the size of a sheet of paper without looking distorted. Paizo.com has a great selection of Fantasy and Sci-Fi wallpapers and other appropriately sized illustrations to inspire your players, and of course, a good old fashioned Google Image search for Fantasy Wallpapers, Horror Wallpapers, Cyberpunk Wallpapers, etc. will yield an embarrassment of riches no matter what genre of gaming you prefer. For best results, print your player facing art on cardstock. It will absorb all that ink better than regular printer paper and make the images noticeably more vibrant, whereas images printed on regular paper are often marred with lines as the printer spits it out little by little. Conclusion Yeah, it’s a little bit of work, but when you have a GM screen perfectly tailored to give you the exact information you need when you need it, the results are well worth it. At GenCon 2016 I had the honor of running Pathfinder Society in the Sagamore Ballroom, a giant event with over 150 tables all celebrating their love for the game at once. It’s truly a sight to behold. In an enormous, packed room filled with some of the best and brightest Game Masters the Paizo community has to offer, I still had complete strangers come up to me to complement and ask me about my screen because it stood out from every other one. My greatest pride that weekend was when players enjoyed the games I ran, but that was a very close second. Chaz Lebel is a fiction author, freelance writer and member of Caffeinated Conquests, a YouTube channel dedicated to nerd comedy and tabletop gaming. He and his team once produced some promotional videos for High Level Games that they probably wish they could forget. Chaz can be found on Twitter @CafConIsOn Image Resource: https://www.youtube.com/watch?v=YRMVTmbe-Is Leave a Reply. |
All blog materials created and developed by the staff here at High Level Games Archives
April 2023
Categories
All
|
Proudly powered by Weebly


 RSS Feed